Create your own beautiful Memory Book (with layout ideas!)

Jun 23, 2022

creative scrapbook layout inside personalised memory book for couples

Introduction

Do you have a collection of photos in boxes or albums that you never look at? Or have you ever thought to yourself that the memories from a special occasion, your baby's first year, or some other special time in your life are something worth preserving for many years to come? Maybe you've always wanted to try scrapbooking but aren't sure where to start. Well if this sounds like you, then you're not alone. In this guide, we'll give some helpful tips and will show you how easy it is to create your own memory book.

plain scrapbook varieties

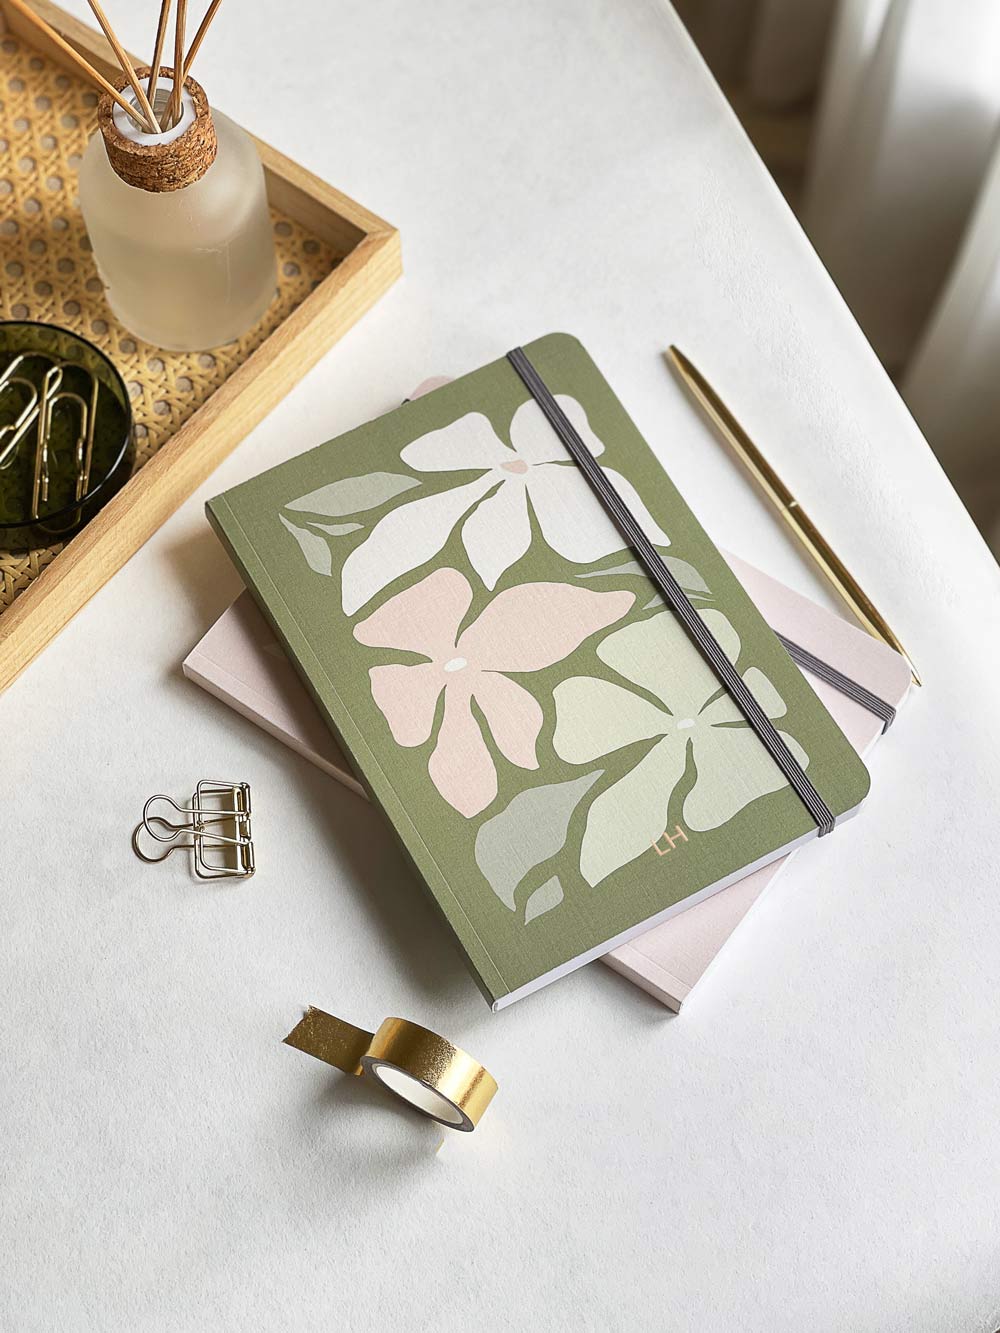
Image 1 - High Quality Linen Book from Etsy
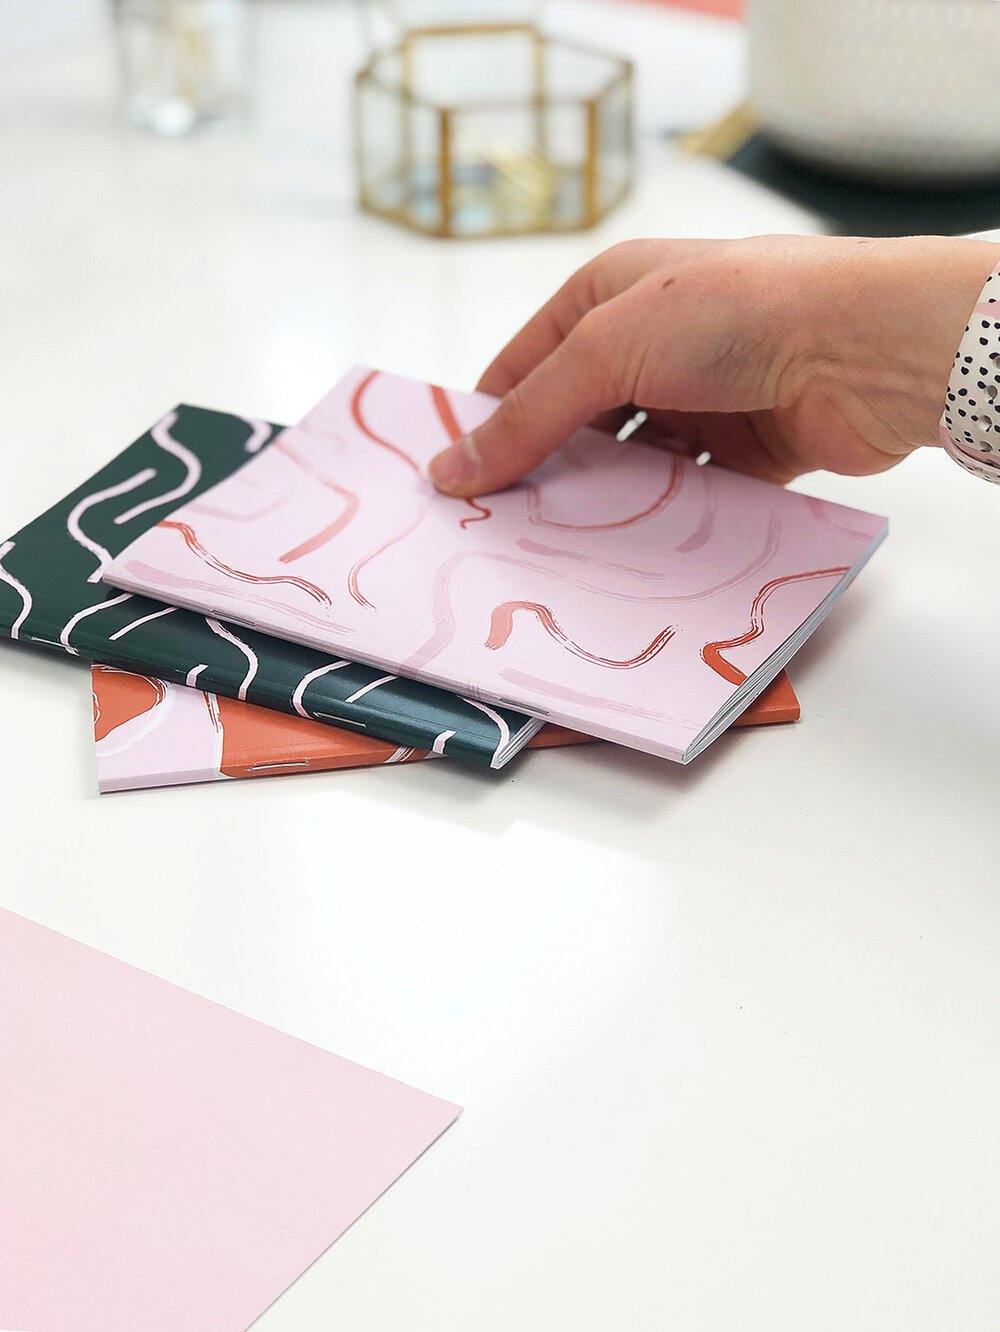
Image 2 - Inner pages of scrapbook

Choosing your blank Scrapbook

Choosing a blank scrapbook that is the right size for your photos is important. There are many sizes and styles to choose from, but some are better than others for scrapbooking. You will want to ensure that you have enough room for all of your photo memories and any other items you may want to include in your book. A5 size fits standard 6x4" photos but only in landscape, where as A4 gives you much more room to play with. Consider how many pages you want before choosing a size, as it can be difficult or impossible to add more pages once they have been added into the book.

Hardcover vs. Soft Cover

The choice between hardcover and soft cover books depends on what type of materials you would like assembled in your memory book. The benefit of hardcover books is that they're much more durable so stand the test of time better than their softer counterparts, but they also a little more pricey. Soft covers are less expensive than hardcovers and allow for easier storage and pages fold flatter, however, these types tend not last as long and you may end up getting rough page corners and fold lines down the spine after long time use. If longevity isn't an issue then feel free go with whatever looks best!

A plain cover vs. personalised.

If you're buying online, many stores allow you to personalise your cover (we offer gold foil personalisation for free on all memory books - check it out here!) However, if you're feeling especially creative, you could purchase a plain scrapbook and design the cover yourself.

collection of polaroid style photographs

Step 1 - Gather your photos and other keepsake items.

First, gather everything you want to include in your book. Be sure to look through drawers and storage boxes for keepsakes that you may have kept from holidays or other occasions. Don’t just include photos—gather old tickets, receipts and love notes as well as anything sentimental to you.
Next, prepare any accessories or items you want to use in your memory book. This can be purely for decoration, like stickers, or functional accessories such as glue, washi tape or photo corners to secure your photos and keepsakes to the pages. Don't forget to keep a pen or two handy for captions and titles.
 

paper cuttings and swatches to be used for scrapbooking

Step 2 - Organise your photos into groups and themes.

Once you have your photos and keepsakes, try to sort them into groups before you start to decide how to lay them out. There are many different ways to approach this and it’s up to you which one suits your style best. Some people prefer a chronological layout that starts with early memories and ends with the present day, while others like to group things together by theme or occasion.
The important thing is not to make it too complicated – if it gets too muddled then people will struggle to navigate through the book if they're looking for an instant reminder of an occasion or event.

Step 3 - Decide on the design of the pages

Now that you've decided on the content of your memory book and have an idea of how many photos you'll put into each page, it's time to get creative with how you lay out the pages.
Decide what style of layout will work best for you and then get started! If you're not sure where to start, there are lots of ways to make your pages unique. For example:
  • You can use one photo per page and add simple captions for a clean, simple layout.
  • Use smaller photos or cut out sections to create a grid style collage of images.
  • Or, you could opt for a typical scrapbook style book, using handmade elements, washi tapes and hand lettered titles with brush pens.
  • Take a look at some inspiration below:

scrapbook page with grid photographscreative scrapbook layout idea for travel memoriesclean simple photo book layout with photographs and handwritten captionsBlue travel themed scrapbook layout

Image 1: https://www.pinterest.co.uk/pin/68743040540
Image2:https://www.pinterest.co.uk/pin/344173596535569223/
Image 3:https://www.pinterest.co.uk/pin/159244536815081176/
Image 4: https://www.pinterest.co.uk/pin/1688918601910235/


Step 4 - Start putting it all together, don't forget the captions!

Now for the fun part, it's time to start putting your memory book together.
  • Start by roughly placing your photos down before sticking them down with glue (or whatever you choose to secure them with)
  • Add captions - these can help tell the story behind a photo, or just add some humor or nostalgia They don't need to be long paragraphs; a few well-chosen words will do the trick!
  • You could include dates, such as the year you saw your favourite band or locations, such as where you went on your first holiday as a couple.

Enjoy the process

The process of creating your memory book can be just as enjoyable as the book itself. Scrapbooking is great tool for mindfulness that many people find calming and enjoy the creativity that comes with it. Not only is scrapbooking a great task to do on your own, it's perfect for kids who like to get their hands dirty.
Finally, remember to add to your memory book in the future. It's worth keeping some pages at the back to collect new keepsakes that can be added over time. If you're giving your memory book as a gift, add some pretty gift wrap as a finishing touch and you'll be good to go!
Shop our range of personalised memory books at AIM Studio Co. We offer both soft cover and hardback options, with FREE gold foil personalisation & FREE UK shipping on all orders!